Last Halloween we had a small costume party. I wanted to go as an executioner. I found a cheap costume, but all the plastic axes available looked like crap. So I decided to make my own out of wood and foam board!
Design and Materials
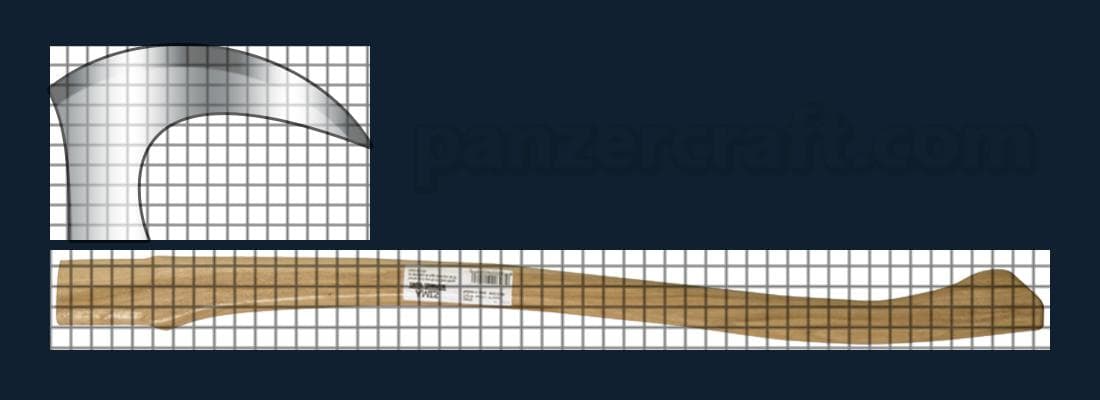 I had a pretty clear idea what kind of an axe I wanted to make. It needed to be big enough for me to wield with two hands. I googled a few images of axe handles and hafts and decided to go with this one as it had a nice curve.
The shape of the axe head was also important. I wanted it to look a bit evil and scary, so I made it long, curved and spiky. While not historically accurate, I think it captures the essence of Halloween well.
On top of the images I placed a grid that I would later transfer on to the materials. This would be the base for shaping the haft and the head.
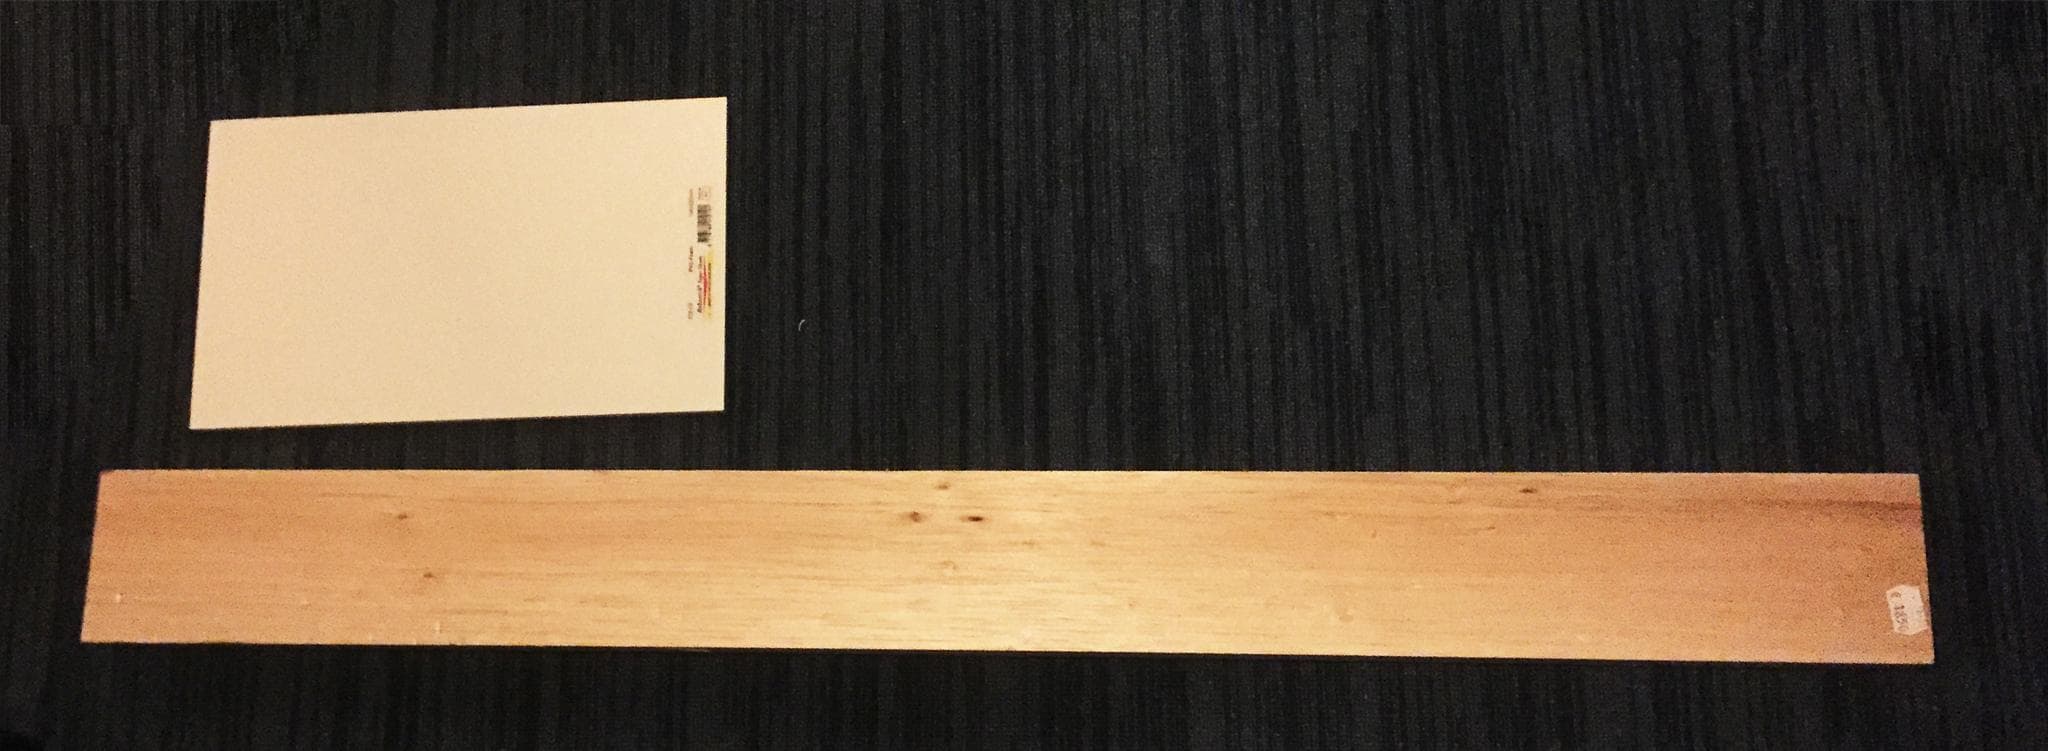 I guess the next logical step after designing is to get the materials. As the axe would not be used for beheading or any sorts of fights, I opted to go with Balsa wood. It's light and easy to carve. It feels more like a styrofoam than real wood. I found a block of it at a near by hobby store. I believe they stock it because people like to build RC model planes from it.
For the head, I got a small piece of PVC foam board. A bit too hard for this purpose though. Could have gone with something a bit softer for easier carving and safer end product.
The axe haft
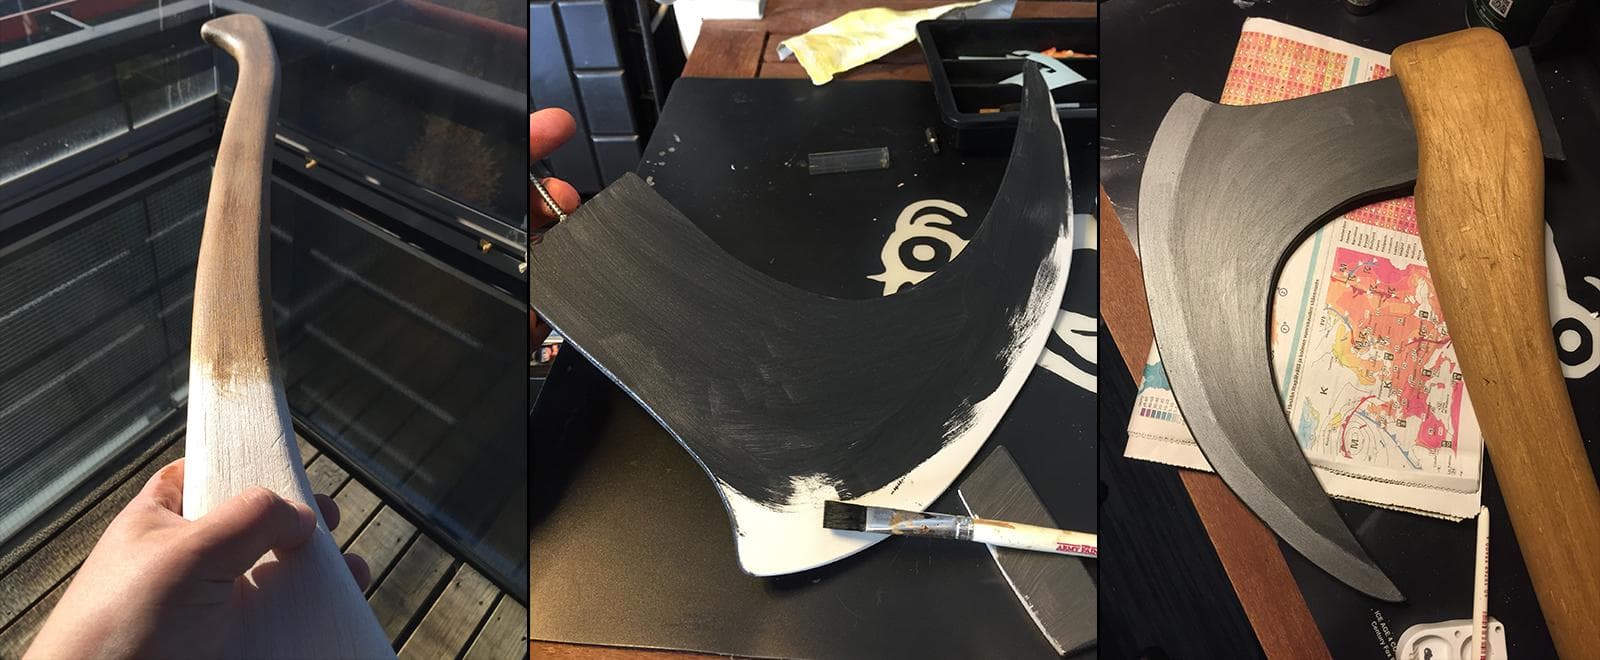
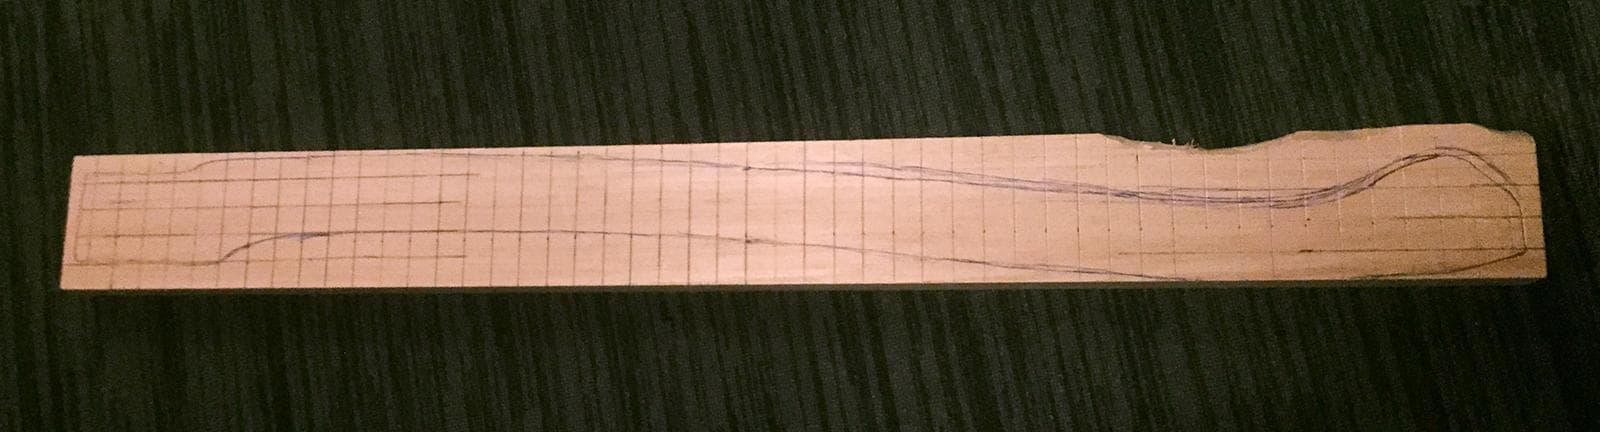 I used a pencil and a ruler first to draw the grid on the wood. Then I free-handed the curves of the haft on the piece. Some of the grid lines cut bit too deep into the wood which lead to more sanding later on.
 Now for the messy part! Like I mentioned earlier, Balsa is incredibly easy to carve. Even with the crappy knife I had, it only took me one evening to carve the initial shape. Got into the flow and lost track of time. I guess this is the second most fun thing that you can do with a knife.
 After I had to rough shape carved, I used sand paper to further define and smoothen the shape. Balsa was easy to sand as well, but if you're going to do a project similar like this one, remember to use a respirator! I had Balsa dust in my nose and ears for days after sanding.
The axe head
 Cutting the shape of the axe head out of the PVC foam board was the most time consuming part of this project. I guess I had the wrong kind of tools for the job.
Again I transferred the design with pencil and started to cut away big portions of the board with a hand saw. As I got closer to the drawn lines, I used a utility knife to carve the board. After carving, I used rough sand paper smoothen the the cut.
Putting the axe together
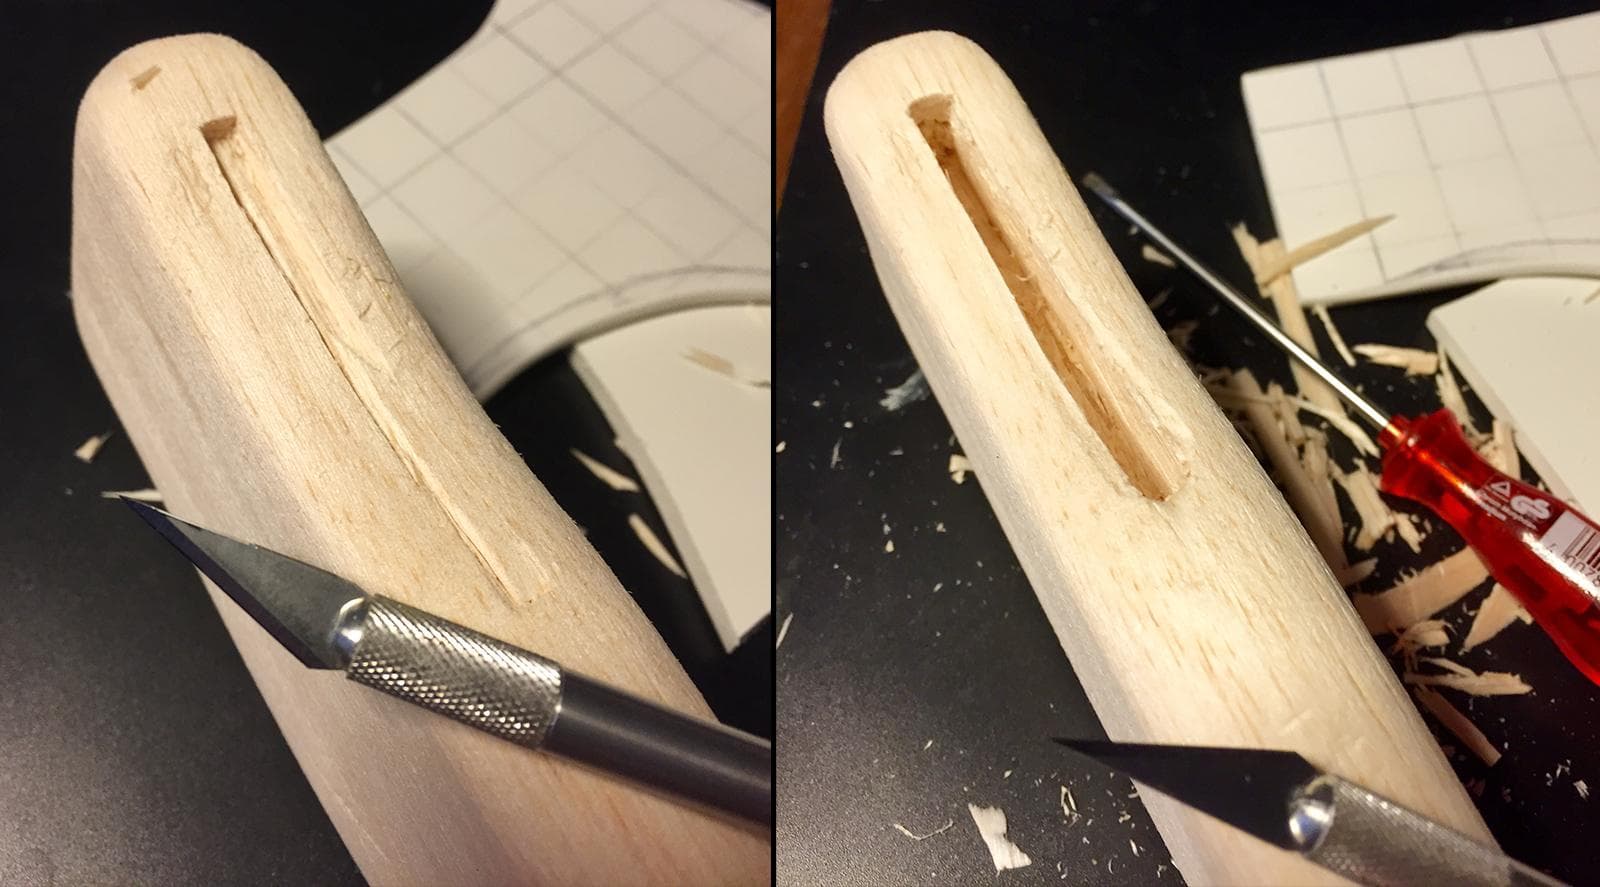 For this part I definately didn't have the right tools! I used the same exacto knife I use for cleaning scale model parts to cut the sides of the slot. Then I made a few diagonal slices inside the slot to cut away the excess wood. I didn't have a chisel, so I used flat screw driver. If I was working on some other type of wood, this part would have been painful and potentially bloody!
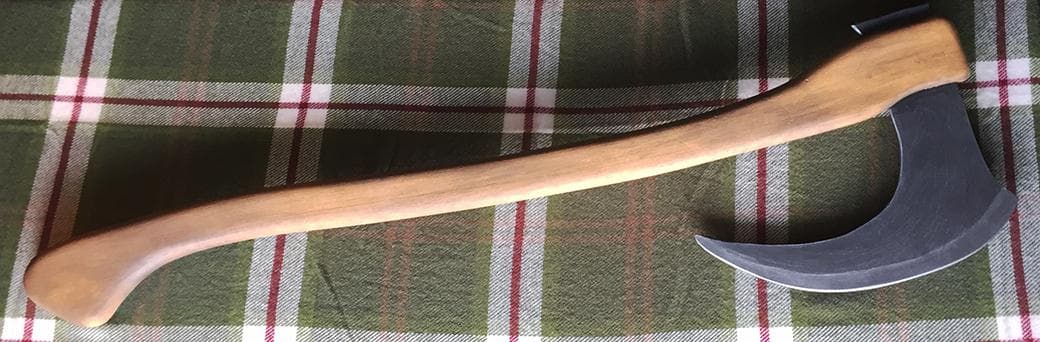
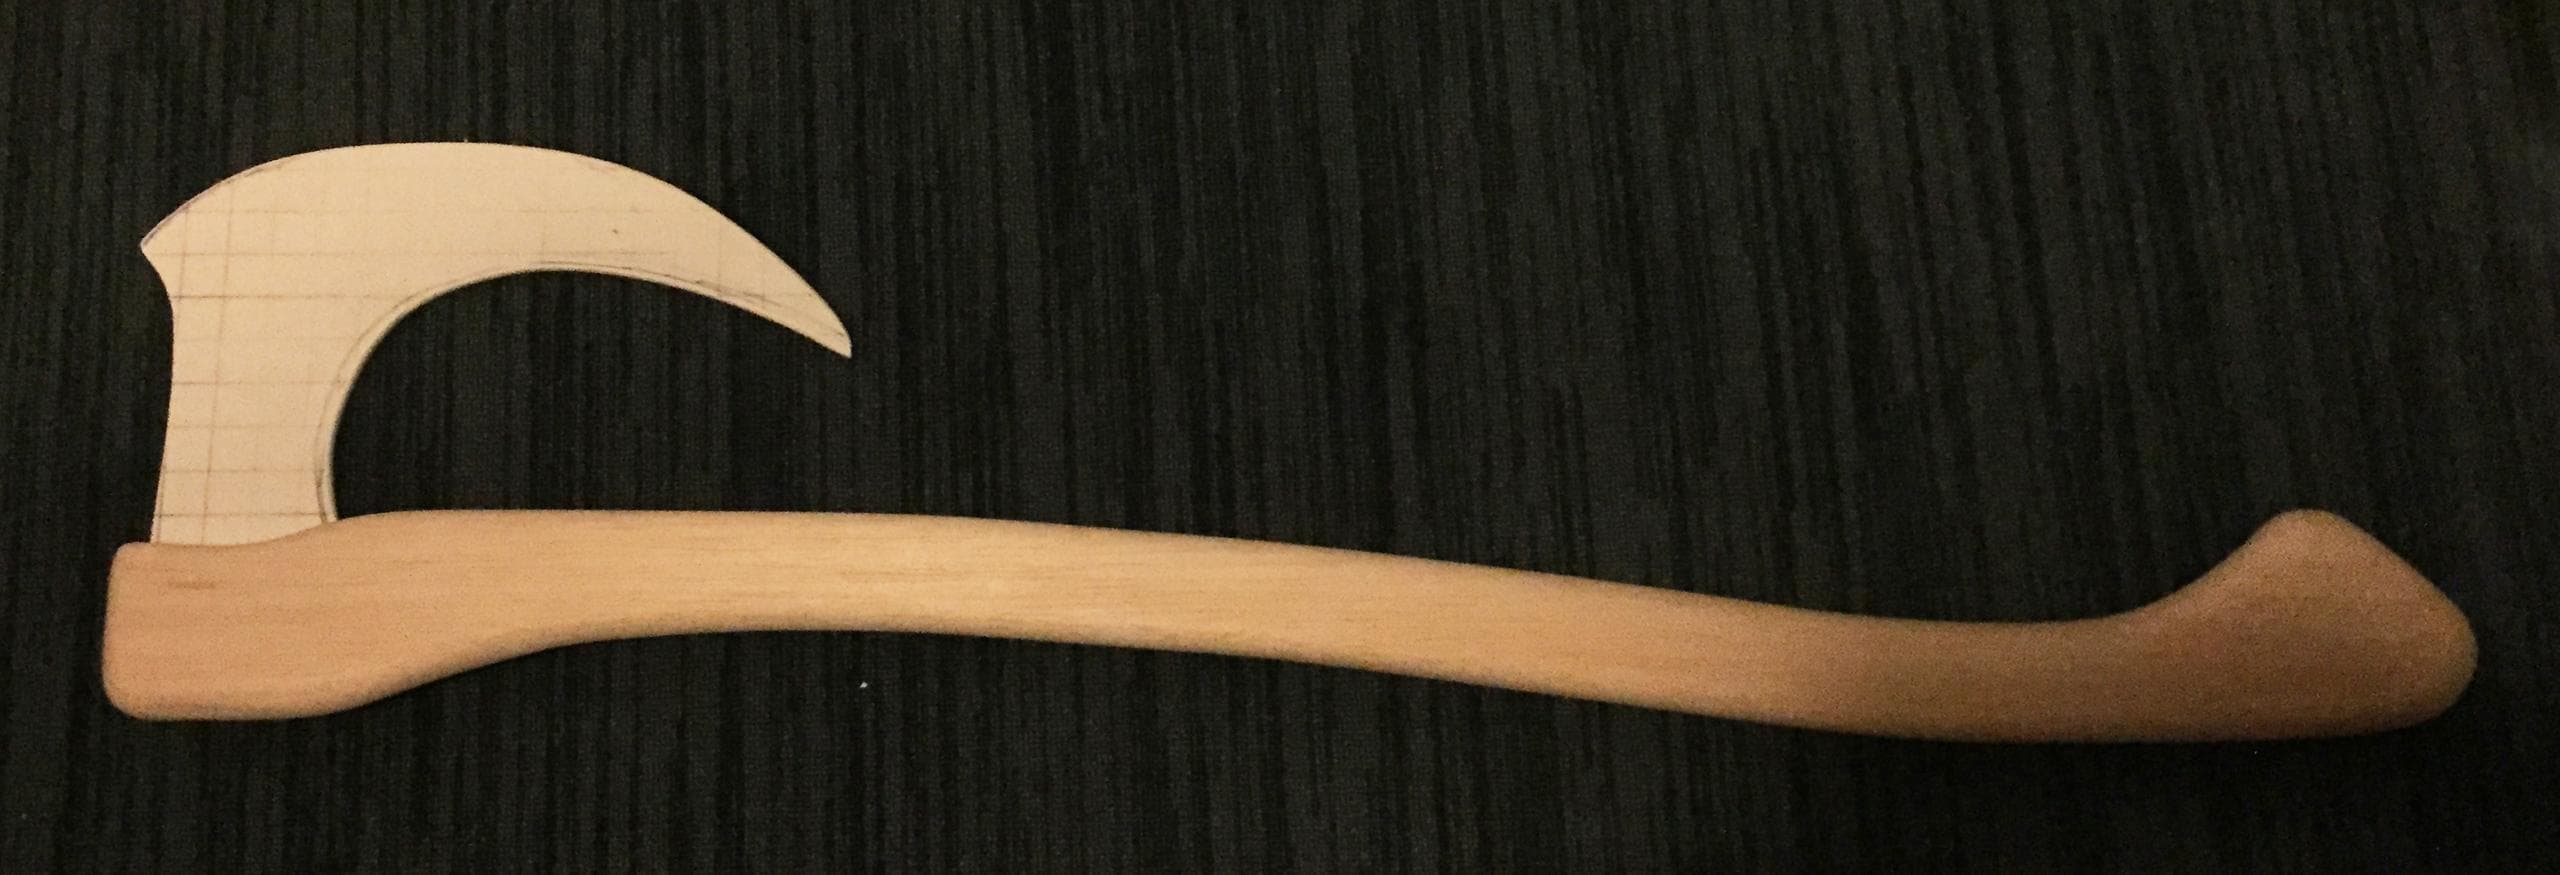 After all the planning carving and sanding I was happy to put the parts together and see that they fit. While not matching the initial design 100%, I do think that the shape and proportions work well.
Painting
 For the haft I decided to use brown wood wax. I wanted it to look older, so I made some random scratches and dents where the wax would build up. The wax had quite a smell, so I had to wax the haft on the balcony. I do love acrylic paints, as they are almost always odorless.
Speaking of acrylics, I used Vallejo Black and Gunmetal to paint the head of axe. Before painting, I used the roughest sand paper I could find to give the PVC board some texture. I didn't have my compressor setup so I painted this by hand. Shame really, as I think that edge of the blade would benefited from a small gradient. I gave the black part of the head a slight dry brushing with the Gunmetal to make it look more like metal.
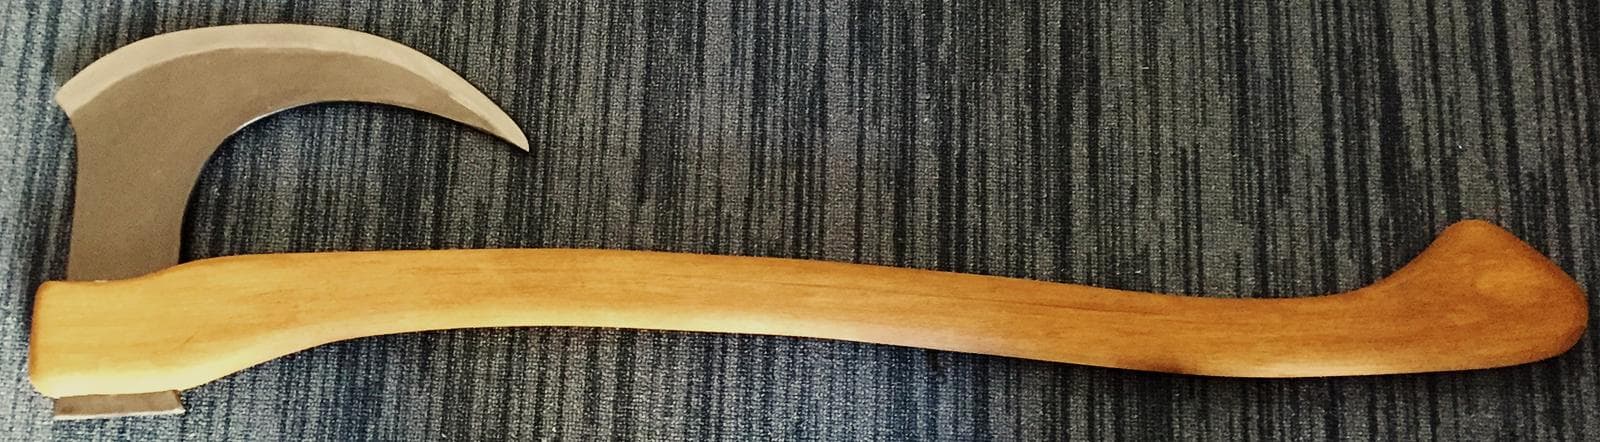 For the final touch, I put some Vallejo Dark Wash on my hands and grabbed the haft. After few repetitions, the places where I would hold the axe from darkened slightly. This made it look like the axe would have been actually used.

Final thoughts
What went well? As you might have noticed, I enjoyed working on Balsa wood. I'm happy about the waxing and weathering. They give a nice authentic look to the axe.
Where to improve? I should have setup the compressor and airbrushed the head. I think that would have made it look even more authentic. The PVC board was too hard which made it more time consuming to work on. It also makes the axe a bit unsafe. You might be able to break some bones if you swing it right and the haft won't break first.
I also should have taken the work in progress pictures with better lightning. Now the pictures are bit grainy.
All in all though I like how this project turned out. Perhaps for next Halloween I can carve some runes into the axe and go as a viking. Hmm...

![HG RX-121-1 Gundam TR-1 [Hazel Custom] Completed](/assets/static/FeaturedGraphic.415b73a.b2906fcce5e3cde78da6753c5f86aa95.jpg)